Are you thinking that starting a website is a luxury for tech geeks? Think again. Gone are the days when only individuals or businesses with tech expertise used to make a successful website. With shared hosting, it is easy to register your online presence like never before. The most notable thing is that successfully launching your first website doesn’t require a technical background. Especially with static web page hosting and small business web hosting, one can design an excellent website in no time.
In this beginner’s guide for website hosting, we’ll thoroughly discuss every detail you require to launch your website. It emphasizes static web page hosting and small business web hosting, a budget-friendly and reliable solution.
What does Shared Hosting Stand for?
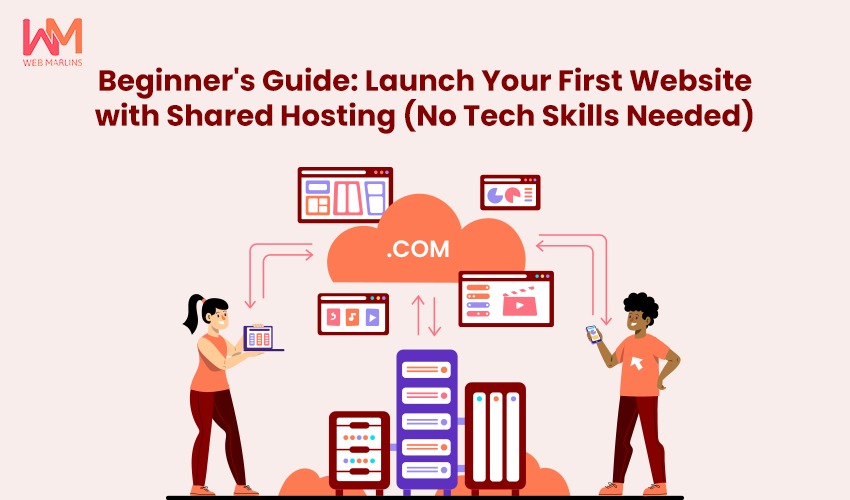
It’s crucial to get an idea about shared hosting and understand the factors that make it highly preferred by beginners. Imagine you live in a rented flat in a building where you access your own space, but you share a common building. In shared hosting, multiple websites share tools and resources from a single server.
Why Should You Select Shared Hosting?
- Ease of Handling
Most shared hosting providers bring exciting features such as user-friendly dashboards, quick installers, and 24/7 support.
- Budget-Friendly
Shared hosting is a perfect option for beginner-level owners and small-scale businesses as it comes with affordable hosting plans.
- No Technical Expertise
The host company handles all your burdens by managing security factors, regular updates, and server maintenance.
Shared hosting is a perfect fit for static page hosting, especially when you are a newbie in this field. If you’re searching for a trustworthy companion, MilesWeb is among the top static web hosting providers, renowned for affordable hosting solutions and top-notch customer support.
Get Started with a Shared Hosting
Step 1: Select the Best Shared Hosting Provider
The initial stage in starting your website is choosing a reliable hosting provider. If you search, there are multiple options. As a beginner, you need a hosting company that provides a simple setup process, reliable uptime, and affordable pricing.
Some leading shared hosting companies include MilesWeb, known for their unmatched static web page hosting and small business web hosting solutions.
Bonus Tip: Always find a web hosting provider that offers a free domain name for the initial year.
Step 2: Register Your Domain Name
Your website gets a unique address known as a domain name to register your online presence. Most of the time, host providers will help you through the domain registration process.
The domain name you choose should be catchy and short to remember for users. Additionally, try avoiding numbers and hyphens in the name to keep it straightforward. Most importantly, go for a domain that perfectly speaks for your brand.
Step 3: Activate Your Hosting Account
Configure your hosting account after you select the web hosting provider and domain name.
This activation process includes creating a username and password for your account and selecting a web hosting plan.
Most solution providers assist you through easy-to-follow instructions. You will find a dashboard (like cPanel) that allows easy site management.
Step 4: Install Website Builder or WordPress
Most service providers offer an easy-to-understand, one-click WordPress installation. Based on global research statistics, WordPress has gained the most popularity as a website-building platform, powering over 42% of live websites.
Selecting WordPress offers benefits if you use small business web hosting and static web page hosting. It offers a wide list of themes and is easy to configure without code.
WordPress Installation:
- Sign in to the hosting dashboard.
- Select the WordPress installer.
- Follow the steps to configure WordPress.
Your brand-new website is ready for customization!
Step 5: Select a Theme and Personalize Your Website
Once you’re done with the WordPress (or other selected builder) installation, move to the designing part of your website. You will come across several free themes to choose the ideal one.
Theme selection:
- The theme you choose for your website should fit your personal or business standards.
- Explore mobile-friendly themes and plugins.
If you are into service offerings such as consulting or catering, you’ll get themes created for small business web hosting requirements. You can easily customize fonts and layouts.
Read Also: Web Design Matters: Why Investing in a Well-Designed Website is Essential
Step 6: Introduce Key Pages
To ensure a professional touch to your website, add some fundamental pages, such as a home page for welcoming users and an about page for sharing your business story and service offerings.
Also, include a contact page with the necessary details so your visitors can easily reach you. If opting for static web page hosting, you can rely on an easy one-page design with transparent links for different sections.
Step 7: Publish Your Website!
Before taking your website live, ensure you check for all parameters.
- Conduct testing of all links and buttons, proofread the content on your site, and check mobile device compatibility.
- Once all things are in place, go live! Your website is ready for your users to visit.
Bonus Tip: It is highly advisable to secure your website, as many hosting providers provide free SSL certificates.
Conclusion
Fulfilling your dream of a website with shared hosting is easier than you imagine. Especially with static web page hosting, you don’t need special skills, degrees, or a high budget. Are you aiming for a small business site or a personal portfolio platform? You can go for shared hosting.
With clear and easy steps in the blog, you can get a comprehensive website that meets all your requirements. With small business web hosting, all the necessary things are available; the only thing remaining is taking the first step.

